【Premiere Pro】YouTubeタイトルで使えるテキストアニメーション
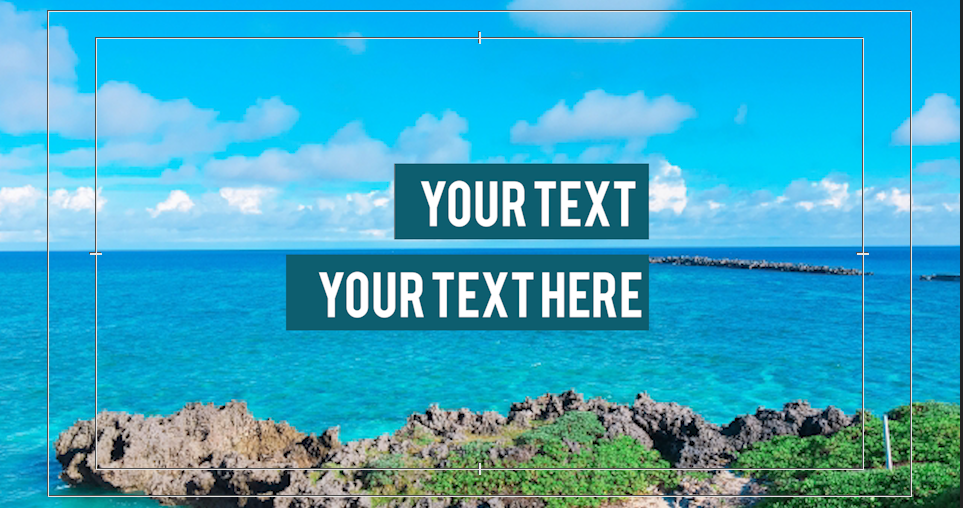

今回はこのような背景と文字が現れるテキストアニメーションを作ってみました。
背景のシェイプがぬるっと出る感じが気に入っています。
YouTubeタイトルで使えるテキストアニメーション
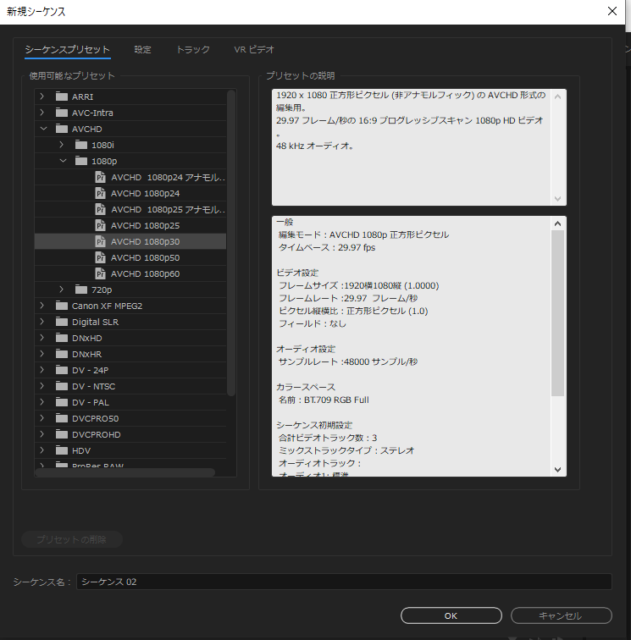
ファイルから【新規】【シーケンス】

【AVCHD 1080p 30】を選択します
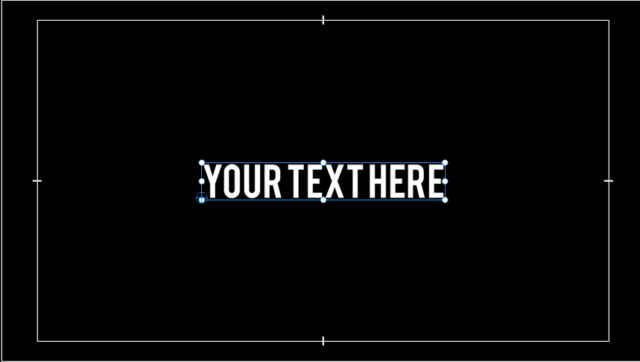
テキストを入力します
お好きなテキストを入力します
フォント:Bebas
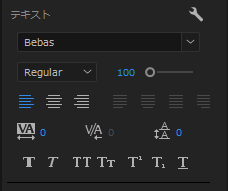
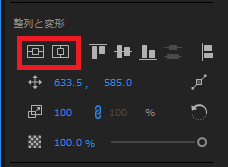
中央に揃えておきます
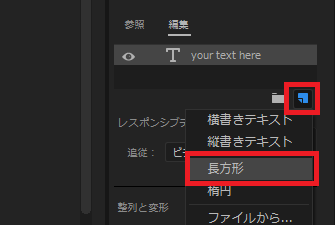
ウィンドウから【エッセンシャルグラフィクスパネル】を出します。
編集タブのテキストをクリックして【新規レイヤー】から【長方形】を選択します
このように背景帯を引きます
最初の文字の前に一文字分の余白を設けます。
濃い緑色にしました。
同じ大きさの背景をもう1つ作ります。
こちらはグレーにしました。

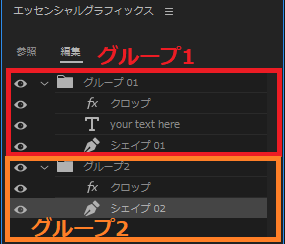
次にフォルダーを2つ作って1つはテキストと緑のシェイプ
もう1つのフォルダーにはグレーのシェイプを入れます。
そしてそれぞれのフォルダーにエフェクトパネルから【クロップ】を入れます

アニメーションをつけます
【エフェクトコントロールパネル】でグループ1(テキストと緑の背景)のクロップの左に1秒15フレームでキーフレームを打ちます。
0秒でテキストと背景がすべて隠れるように左の数値を変えます。
今回は68でした。
キーフレームを2つ選択して右クリック
時間補間法【イーズイン】をかけます。
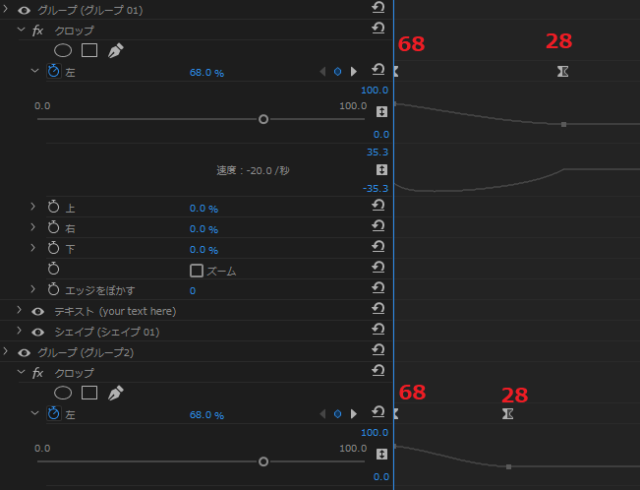
グレーの背景は少し早めに出したいので1秒で【クロップ】の左にキーフレームを打ちます。そして0秒でちょうど背景が消えるように数値を変えます。
キーフレームを2つ選択してして右クリック
時間補間法【イーズイン】をかけます
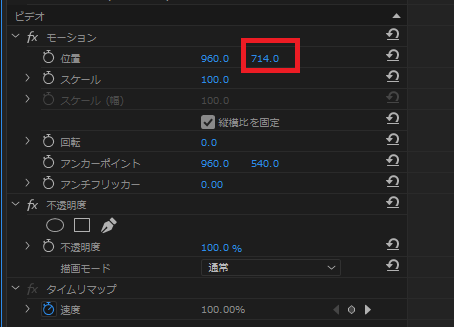
クリップを複製します。
クリップを複製します。
ビデオのモーション【位置】のY軸を動かして位置を調節します。
テキストをお好きな文字に打ち替えて、文字数に合わせて背景の長さも変えましょう。
このように完成しました。
完成
背景画像を合わせてみました。