【jQuery】Lightboxが出来ない

画像をクリックするとポップアップ表示されるアレが上手く出来ません

「Lightbox」ですね。
今回は「Lightbox」実装の仕方を見ていきましょう
LightBoxを実装する
今回はLightBoxの使い方を分かりやすくお伝えしようと思います。
順番どおりにやっていけば初心者さんでも出来るように分かりやすく解説していきます
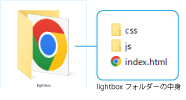
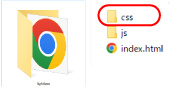
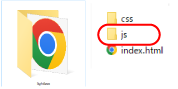
1.Lightboxフォルダーを作る
まず1つフォルダーを作ります。名前を「lightbox」にします。
その中に「js」フォルダーと「css」フォルダーを作ります。
そして「index.html」も同じ階層になるようにします。
2.jQueryを読み込む
JQUERY公式サイトを開き左上の「JQUERYダウンロード」ボタンをクリックします。
そのページの真ん中あたりに「Using jQuery with a CDN」
(Google翻訳されている方は「CDNでのjQueryの使用」)があるので
「https://code.jquery.com」をクリックします。
jQuery 3.x
iQuery Core 3.6.0 uncompressed, minified, slim,slim minified
のjQuery Core 3.6.0、「minified」をクリックします。
(Google翻訳されている方は「縮小」をクリックします。)
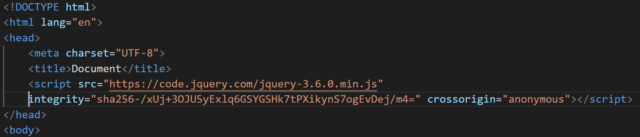
するとコードが表示されるのでコピーします。
コピーしたものをindex.htmlの<head>~</head>に記述します。
**********
JQUERY本体をダウンロードする方法で使用したい方はこちらの記事に載せています

2.lightboxフォルダーをダウンロード
次に「lightbox」公式サイトを開きます。https://lokeshdhakar.com/projects/lightbox2/
「GITHUB」をクリックします。

そして緑色の「code」ボタンをクリックします。
「Download ZIP」をクリックするとZIPフォルダーがダウンロードされます
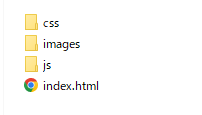
3.フォルダーの中身を移動
ダウンロードしたZIPフォルダーを解凍して開きます。
開くとこんな感じ
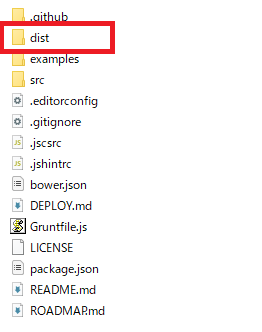
この中から「dist」フォルダーだけを使います。
lightbox.cssを移動する
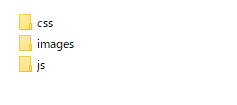
「dist」フォルダーを開くとこんな感じなので
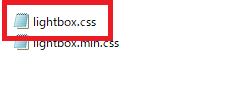
「CSS」フォルダーの中から「lightbox.css」を切り取って先程作った「lightbox
」フォルダーの「CSS」フォルダーに移動します。
ここに移動する
lightbox.jsを移動
次に「dist」フォルダーの中の「js」フォルダーの中から「lightbox.js」を先程作った「lightbox」フォルダーの「js」フォルダーに移動します。
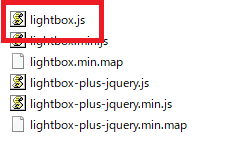
ここに移動します。
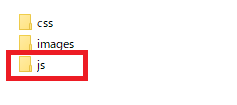
imagesフォルダーを移動
次にダウンロードした「dist」フォルダーの中から「images」をフォルダーごと切り取り先程作った「ligfhtbox」フォルダーに移動します。
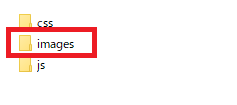
ここに移動します。
そしてこの「images」フォルダーの中に使いたい画像を入れます。
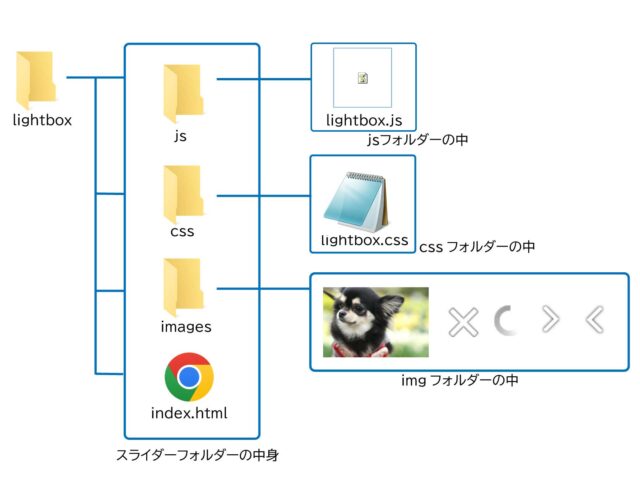
このような階層になります。
4.記述していきます
<head>~</head>の中に「lifhtbox.css」と「lightbox.js」をリンクさせます

<link rel="stylesheet" href="css/lightbox.css">
<script src="js/lightbox.js" type="text/javascript"></script>
必ず先ほど読み込んだ「jQuery本体」よりも後に記述しましょう。
画像を読み込む
<body>~</body>の間に画像を読み込む次の記述をします。

<p><a href="images/01.jpg" rel="lightbox"><img src="images/01.jpg"></a></p>完成
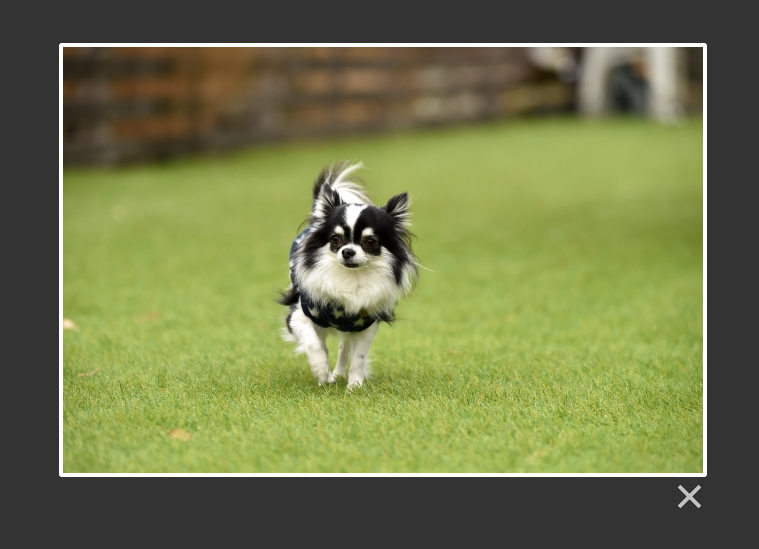
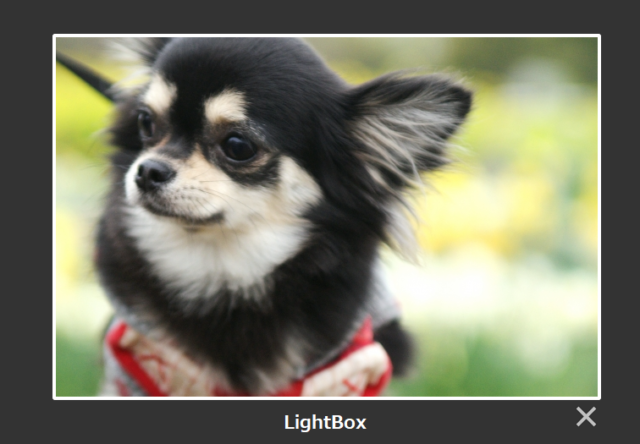
出来ました。
画像をクリックするとポップアップ表示されます。